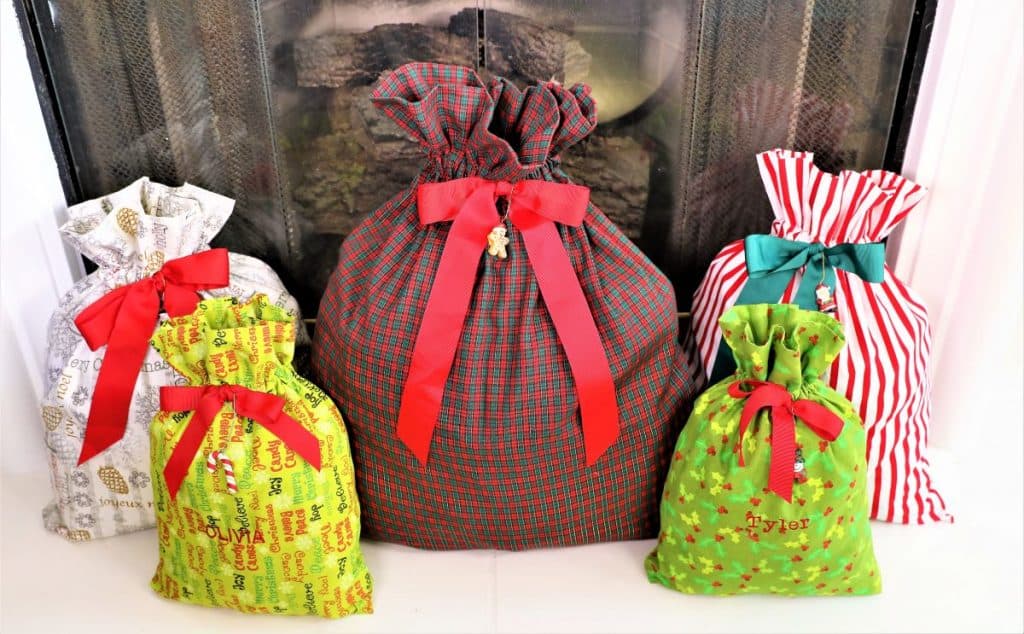
Homemade Christmas Gift Bags. For several years, we have used fabric gift bags and fabric box wrapping at Christmas. This decision came about as a result of several factors, but the main issues were waste, expense and convenience.
The thing about Christmas is we used spend a lot of time and money buying gifts, wrapping paper, ribbon, tape and tags. Within minutes, all of that work is destroyed (in a good way) on Christmas morning. For that reason, for my family, using homemade Christmas bags makes so much sense.
No longer do we have to drag rolls of paper and ribbons home, and spend hours wrapping the gifts. Additionally, we have saved money year after year, by just reusing the bags and fabric wrap. It is so budget friendly, easy and convenient.
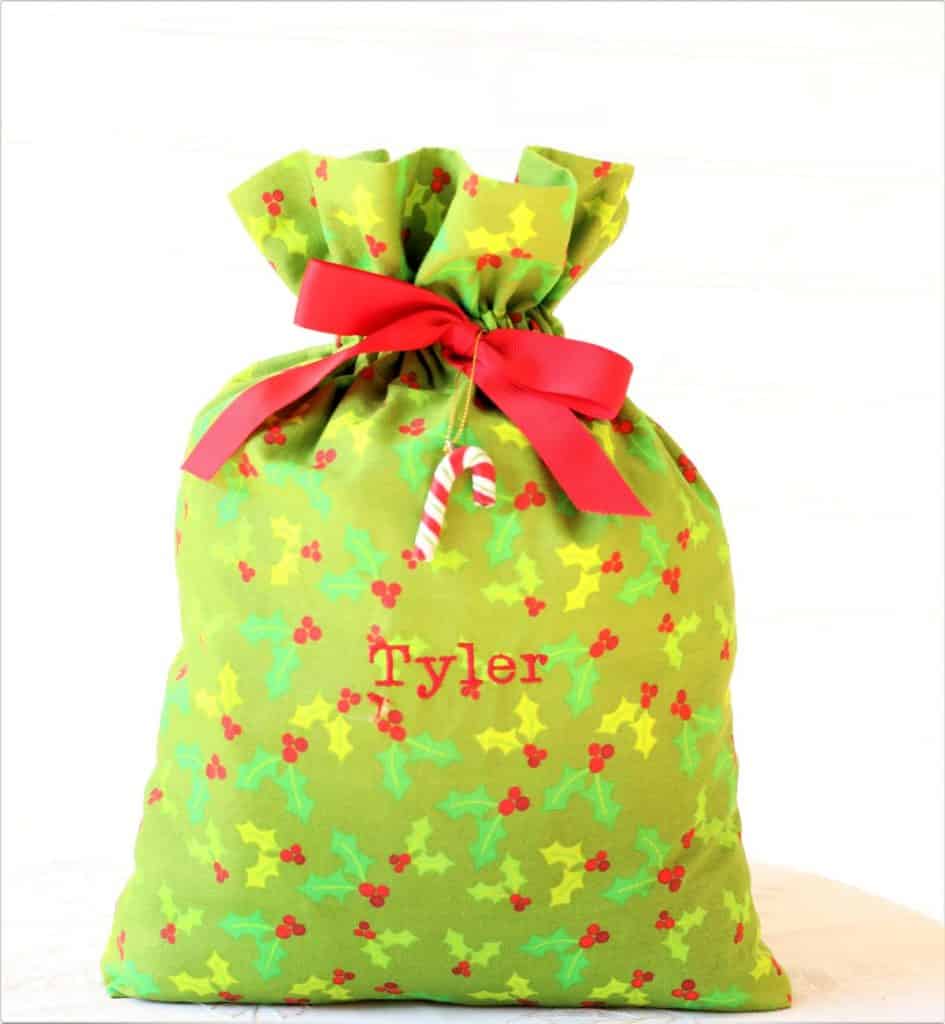
For added style, you can personalize your bags with name monograms. It is not necessary though if you don't have a monogram attachment for your sewing machine, as you can attach gift tags to identify the recipient.
In regard to the waste, doing minimal research, I found that Americans throw away 25% more trash during the Thanksgiving to New Year's holiday period than any other time of year. The extra waste amounts to 25 million tons of garbage, or about 1 million extra tons per week! Additionally, wrapping paper has colors and dyes that make it impossible to recycle all of the paper used. Read more about the environmental impact here.
We started with three sizes of bags--small, medium and large. To get an idea of size, the finished dimensions are as follows:
- Small-14 ½" long by 10 ½" wide. This bag fits books, small toys and clothing.
- Medium-18" long by 15 ½" wide. This bag fits larger items, or a combination of small gifts.
- Large-23 ½ long by 21". This bag accommodates large gifts or gifts that are an awkward size.
Materials Used For Homemade Gift Bags
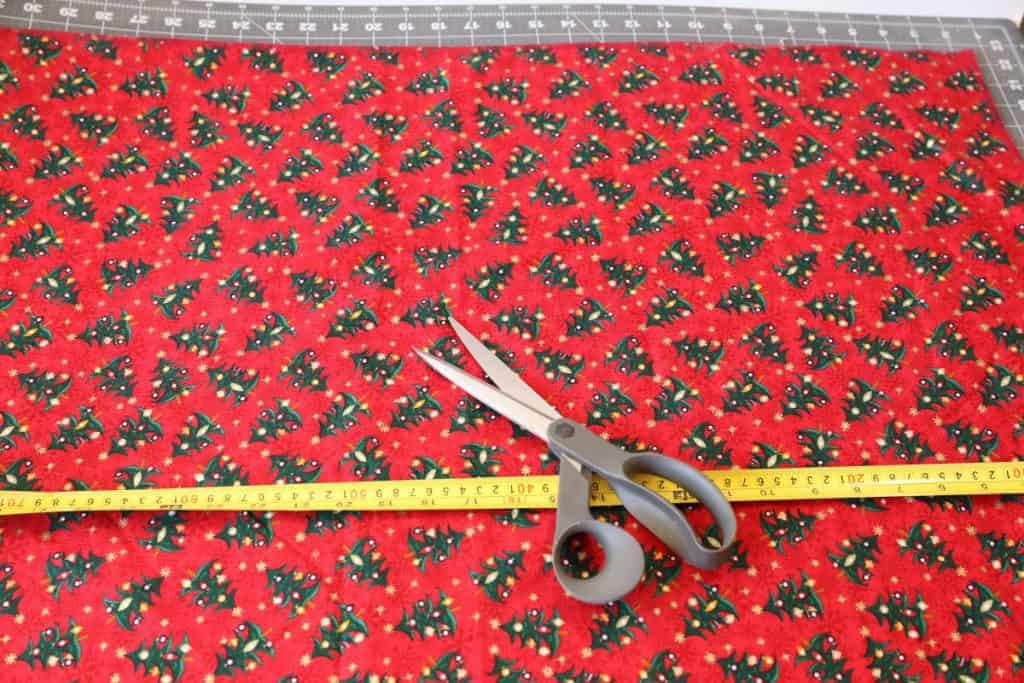
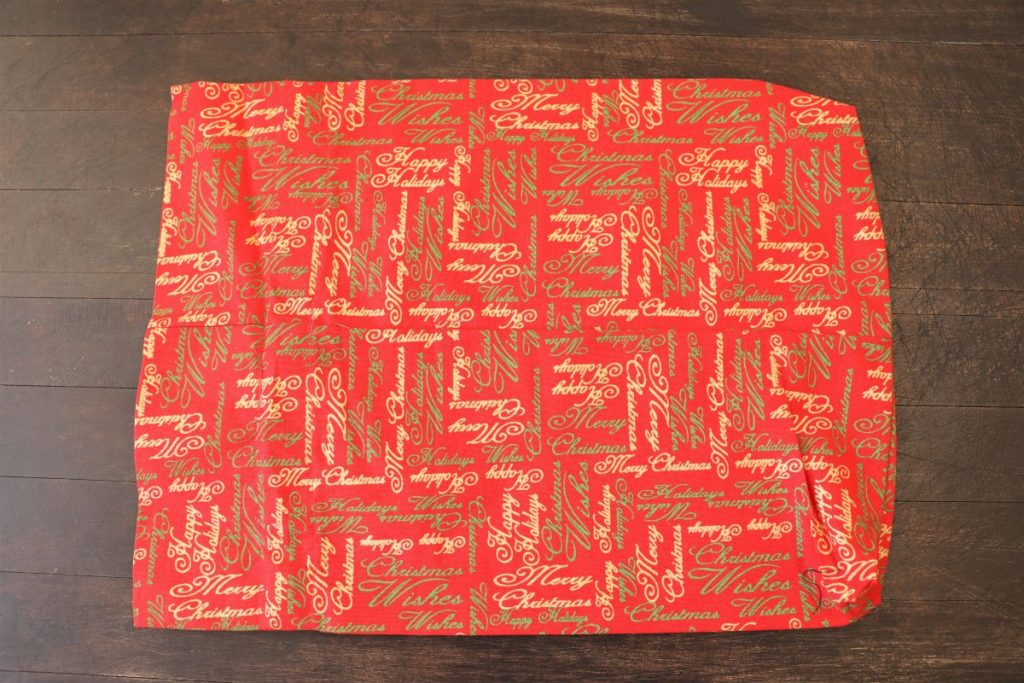
The bags are actually very easy to make, if you have basic sewing skills. You can dress the bags up with monograms, ribbon or small ornaments. Essentially, we use cotton fabric in adorable Christmas prints, and cut according to the dimensions required for the size selected. Cut the fabric as follows:
- Small-cut fabric 18" x 21"
- Medium-cut fabric 22 ½" x 31"
- Large-cut fabric 28" x 42"
Steps
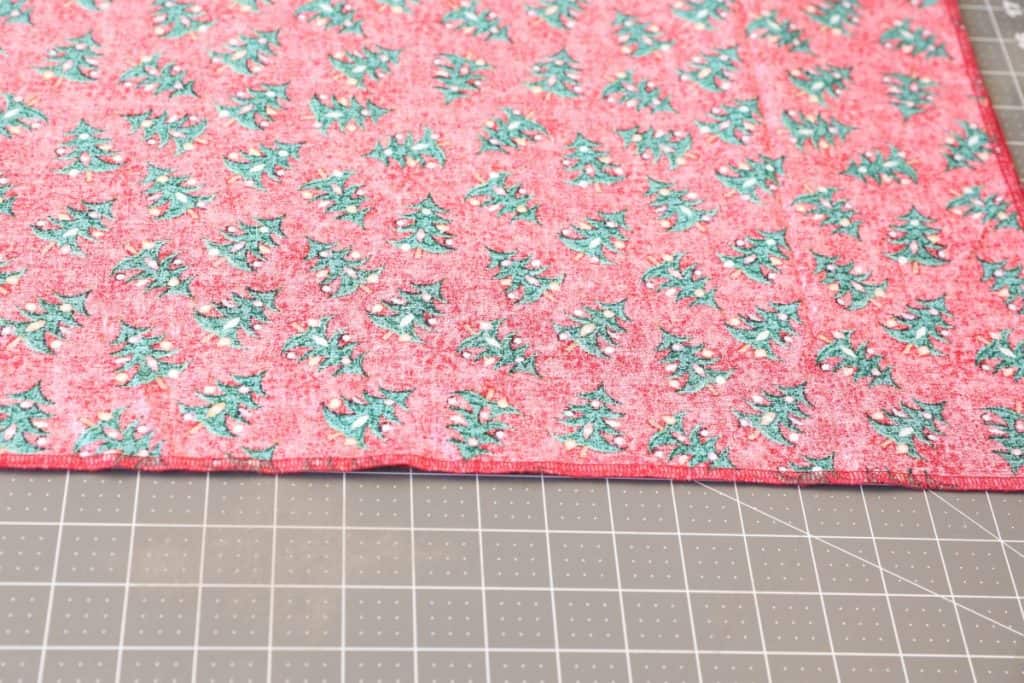
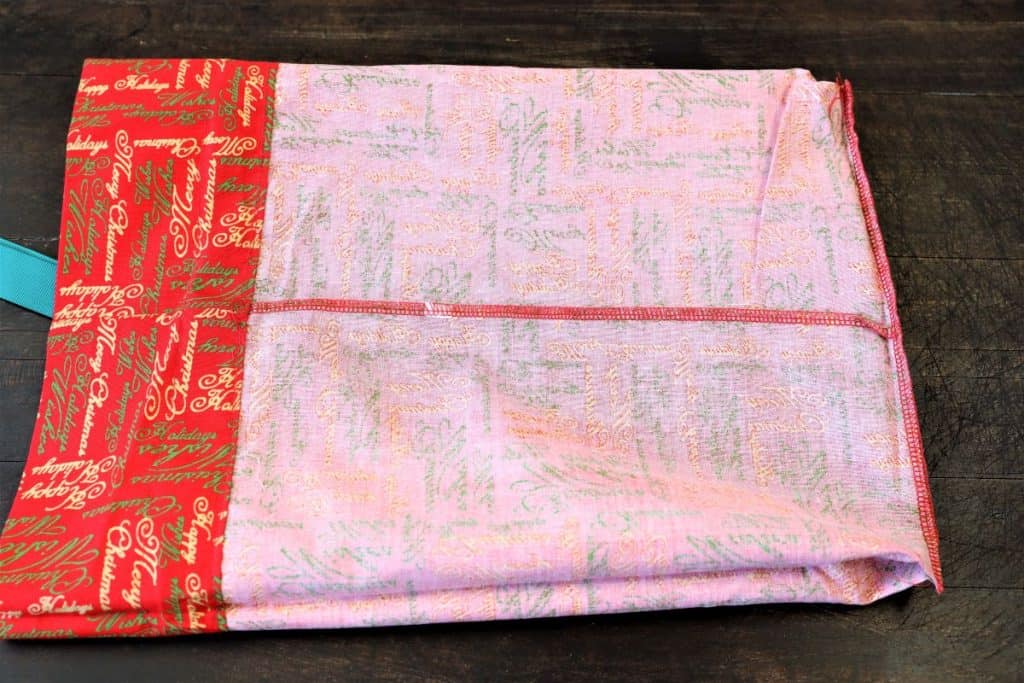
- Turn the fabric inside out and sew the seam on the long side using an overlock stitch. This seam will be centered in the back of the bag.
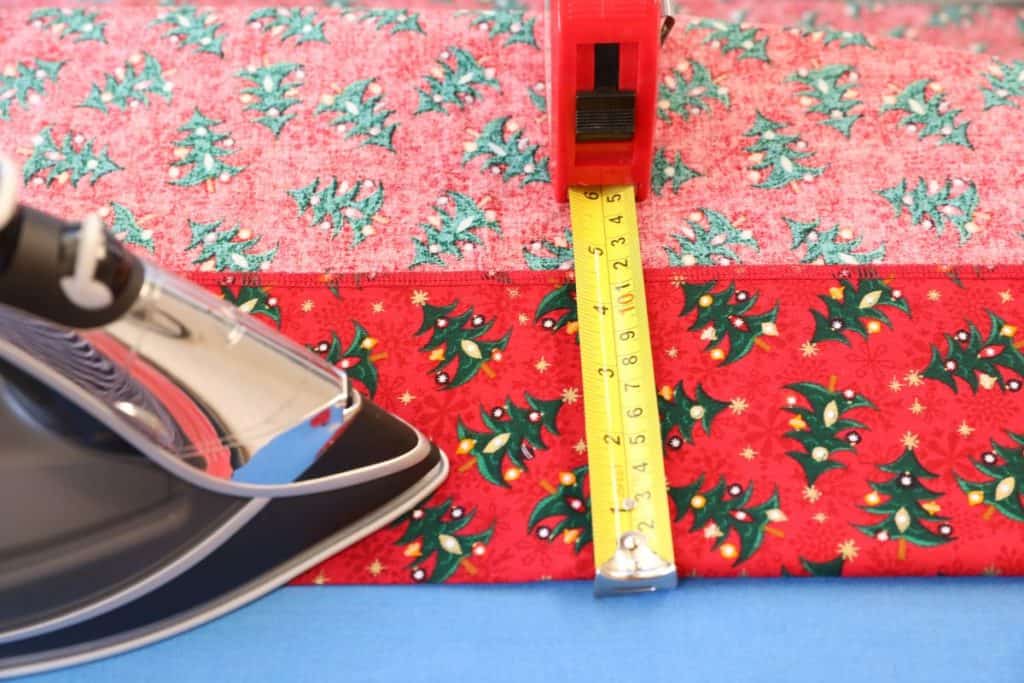
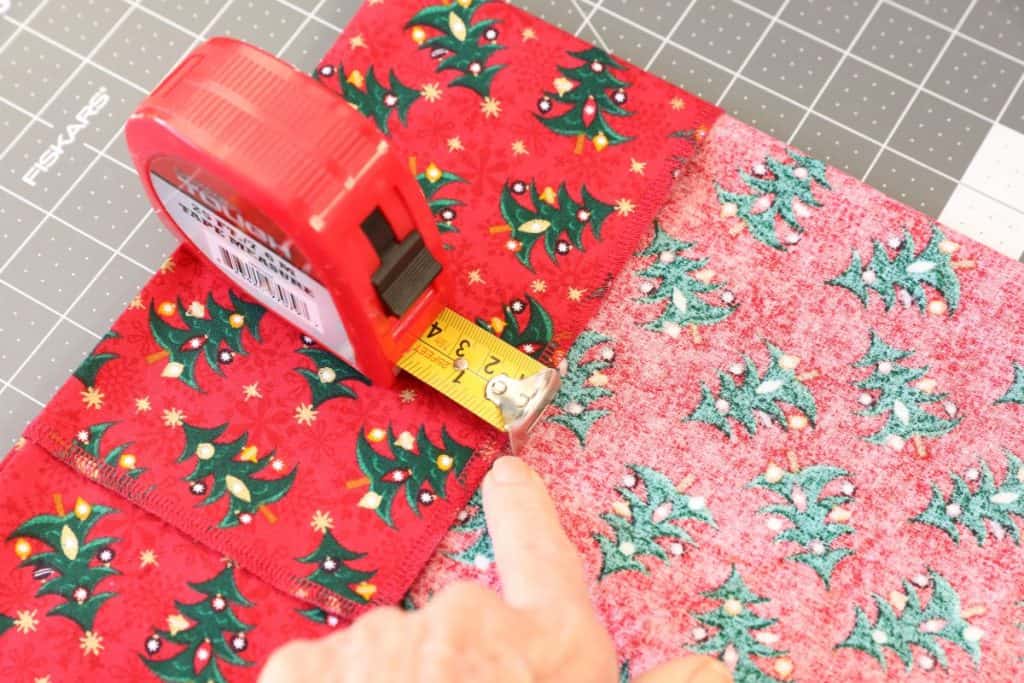
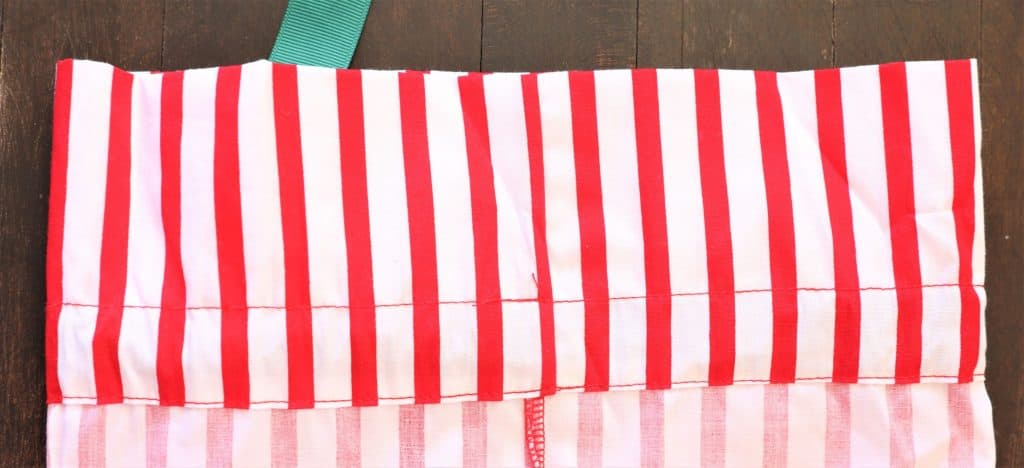
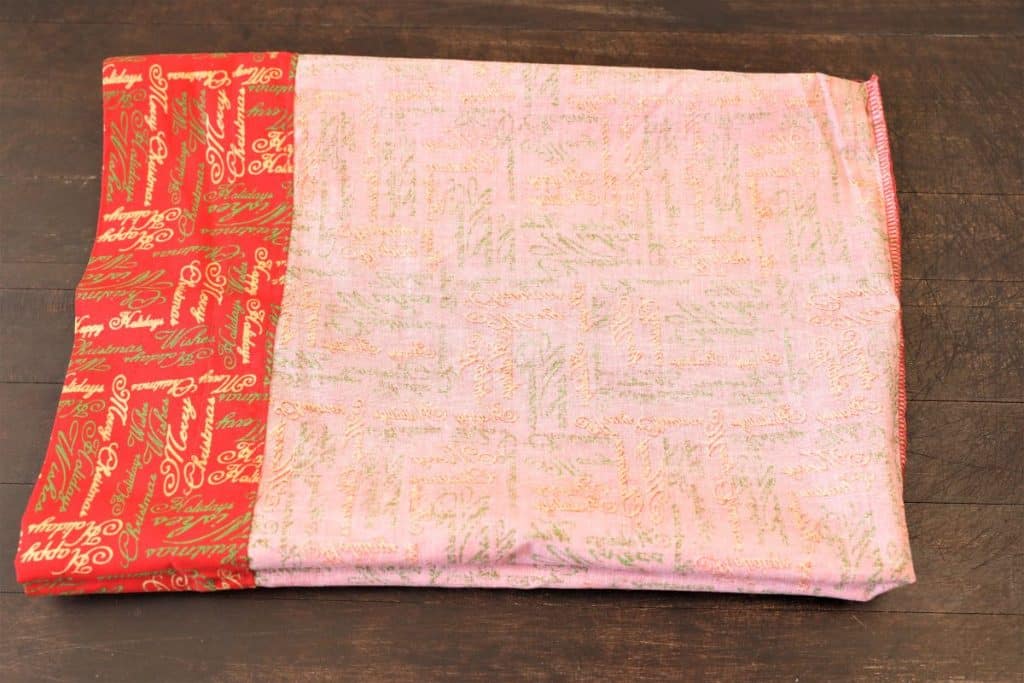
2. Fold the fabric down at the top to create the ribbon pocket according to the size bag that you are making. Iron the fabric to create a crease. Sew the bottom seam on the ribbon pocket.
- Small-3 ½ "
- Medium-4 ½"
- Large-4 ½"
3. To create the ribbon pocket, measure 1" for small bag and 1 ½" for medium and large bag; sew the ribbon pocket.
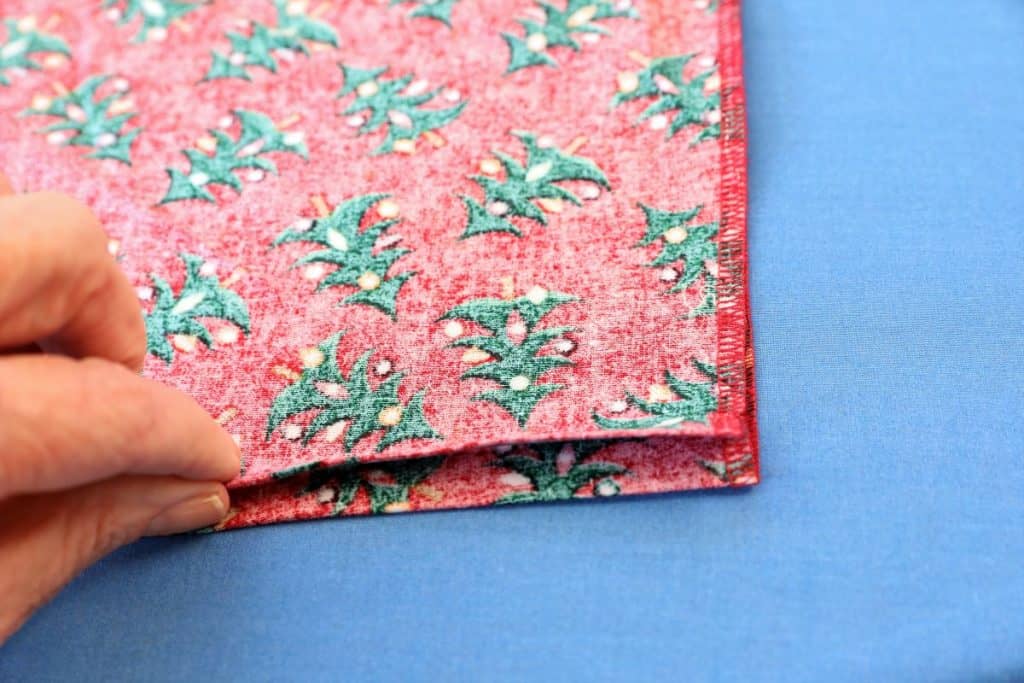
4. Make sure that the seam that you have already sewn is centered in the back of the bag. With the bag is still inside out, create a small pleat at the bottom of the bag and iron it down. Do this on both sides of the bottom of the bag. This pleat will give your bag a more professional look and allow it to stand easily. With both pleats pressed down, sew your bottom seam.
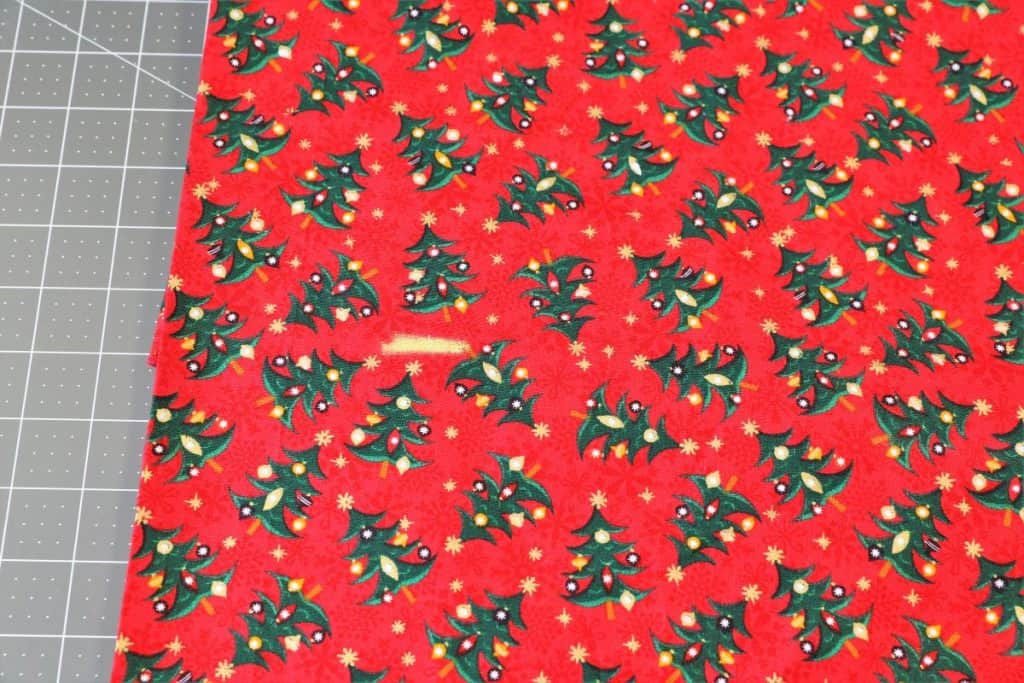
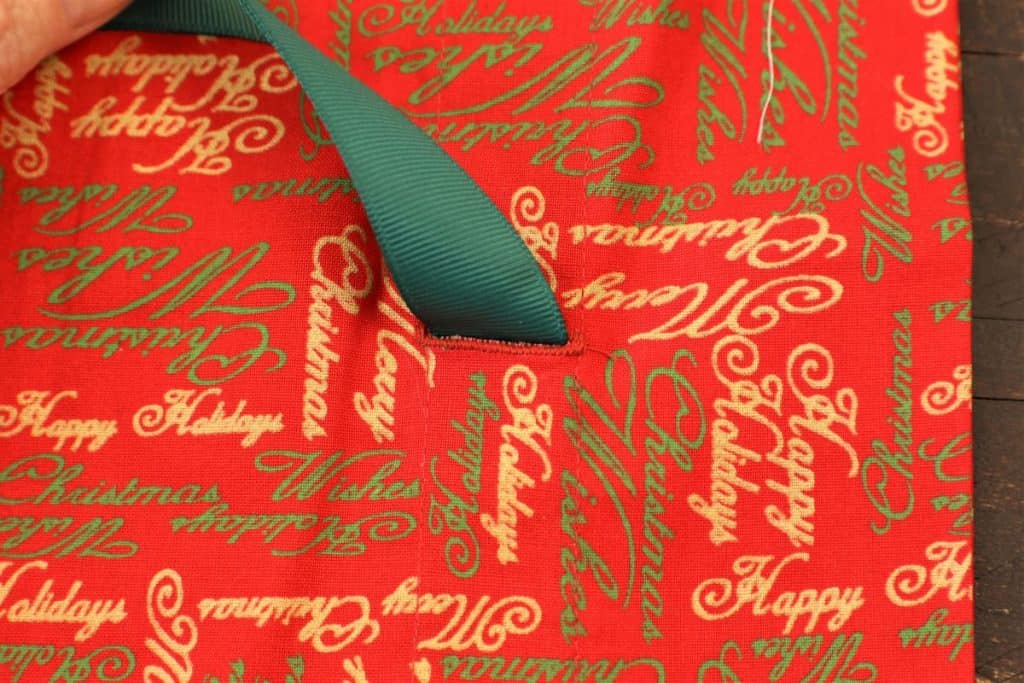
5. Cut a small hole at the center of the ribbon pocket to allow you to insert the ribbon. Make sure you do not make it larger than the ribbon pocket. In order to keep the fabric from fraying, apply fabric sealant around the edge of the cut for the ribbon. (*Optional-if you have sewing skills, create a button hole after you iron down (step 2) the ribbon pocket, but before you sew the ribbon pocket seams.(Step 3))
Select your ribbon, and cut the hole according to bag size:
- Small-¾" ribbon
- Medium-1" ribbon
- Large-1" ribbon
IF you are going to personalize the bag with a name, now is the time to do that. Now that you can see the size of the finished bag, chose your location, either center or bottom, and use your monogram attachment for your sewing machine. It is best not to put the name at the top, since the ribbon/bow will cover the name. ( I am definitely not an expert on monogram and don't know what kind of machine that you have. Please see your instructions provided with your machine, or google the topic to get the best result). Since you are going to use these bags for years, you can also get your bags monogrammed at business that specializes in that.
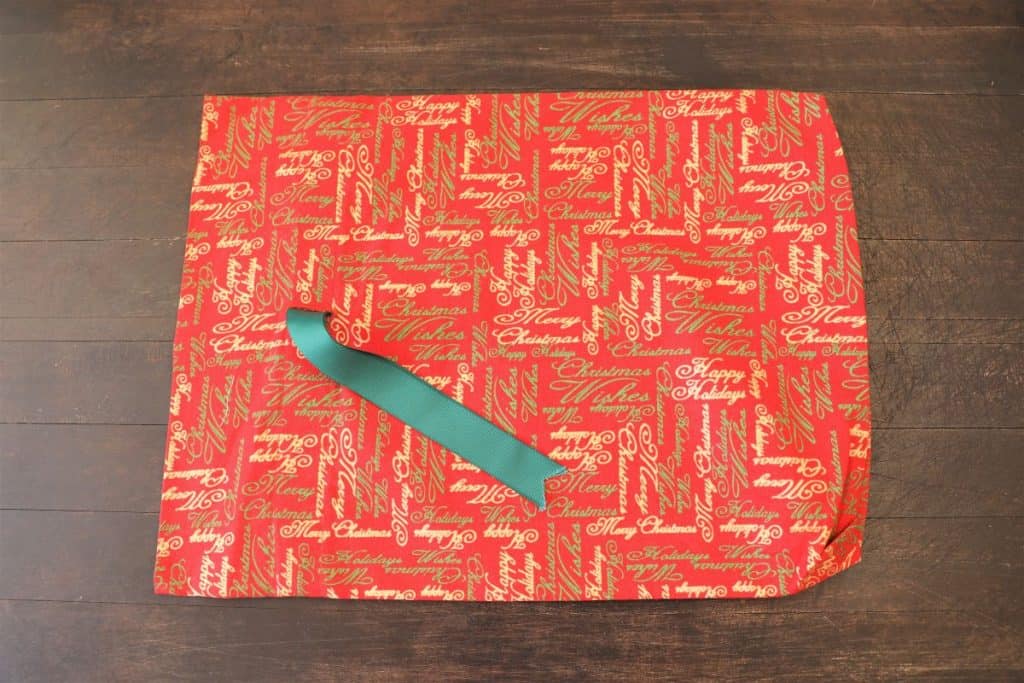
6. Using a safety pin, thread the ribbon through the ribbon pocket.
7. Cut end of ribbon on an angle.
8. When you are ready to use the bag, place the gift inside, and tie the bow. Add small ornaments for decoration.

